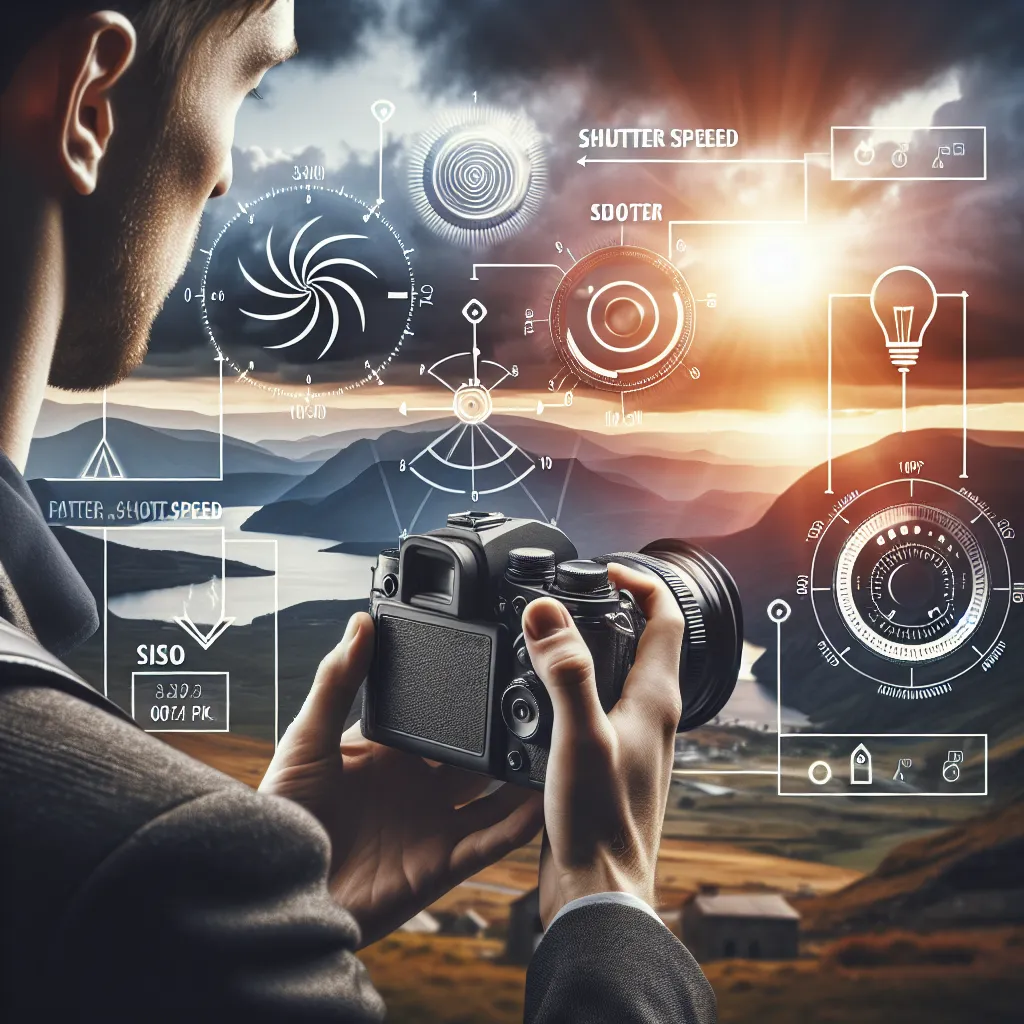
Today’s digital cameras do a lot for us, but nothing beats the human eye. Understanding how cameras work with light is key to capturing great moments. Three main variables determine the right light for a proper exposure in your shots, and with a manual camera, we can tweak these ourselves. Different settings lead to different photo outcomes.
First up is the aperture. This is the hole through which light enters the camera. A larger aperture lets in more light but reduces the sharpness of the image away from the focal point, creating a shallow depth of field. A smaller aperture allows less light but gives a deeper depth of field. For portraits, a large aperture works well to make the subject stand out against a blurred background. Aperture is measured in f-stops, where lower numbers mean bigger apertures and higher numbers mean smaller apertures.
Next is shutter speed. The shutter acts like a curtain over the sensor, opening only when you press the button. To let in less light, we use a faster shutter speed. For more light, a slower speed is fine, but it might cause a motion blur. Speed is measured in seconds and fractions of seconds. For sports or fast movement, faster speeds are essential. For night landscapes, longer exposures are better but use a tripod to avoid blur. You can also try light painting by drawing with a torch or phone light in the dark.
Then we have ISO sensitivity, which controls how responsive the sensor is to light. A low ISO sensitivity means less light is needed to capture an image, while a high ISO works with less light but can introduce noise. A lower ISO like 100 requires more light, whereas a higher ISO like 6400 needs less but can make the image grainy.
To get the right amount of light, cameras have a light meter. It’s a good guide to ensure you’re getting a balanced exposure.
Now, get out there and practice with these settings in different conditions to perfect your photography skills and take amazing pictures.
